Skip to content

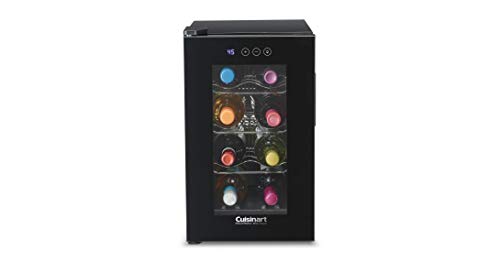
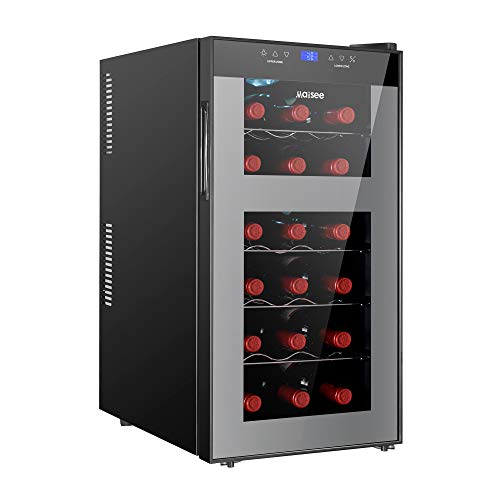
Alright, let’s break it down for you! We’ve got a step-by-step guide on how to install a compact wine fridge. We understand that setting up a new appliance can sometimes be a little overwhelming, but don’t worry, we’re here to help you through it.
The purpose of this how-to guide is to provide you with clear and easy-to-follow instructions on how to successfully install your compact wine fridge. We want to make sure that you can enjoy your favorite bottles of wine at the perfect temperature, without any hassle or confusion.
So, whether you’re a wine enthusiast or just looking to add a touch of class to your home, this guide will take you through each step, ensuring that you have a seamless experience while setting up your compact wine fridge. Let’s get started!
Chill your favorite bottles with style!
Choose the location
Selecting a suitable location for your compact wine fridge is crucial to ensure optimal performance and longevity. When considering the location, there are a few factors to keep in mind: temperature, ventilation, and accessibility.
Firstly, it’s essential to place your wine fridge in an area with a consistent temperature. Avoid spots where the temperature fluctuates significantly, such as near direct sunlight, radiators, or heating vents. These temperature swings can affect the quality and taste of your wine. Instead, look for a cool and stable area, like a pantry or basement, where the temperature remains relatively constant.
Secondly, proper ventilation is necessary to prevent your wine fridge from overheating. Ensure that there is sufficient space around the unit for airflow. Avoid tightly enclosed spaces or areas with limited ventilation, as this can strain the fridge’s cooling system and reduce its efficiency. A few inches of clearance on all sides will allow for proper air circulation and help maintain the ideal temperature inside the fridge.
Lastly, accessibility is a key factor to consider. Choose a location that is easily accessible for you and your guests. It should be convenient to retrieve and store bottles without any hassle. Placing the wine fridge in an area close to your dining or entertaining space is often a good idea, as it allows for easy access during gatherings and ensures you can enjoy your favorite wines without any inconvenience.
To illustrate these points, let’s consider a few examples. Suppose you have a small pantry with a consistent temperature and enough space for proper ventilation. This could be an excellent location for your compact wine fridge. Alternatively, if you have a basement that remains cool throughout the year and has ample room for airflow, that could also be an ideal spot. Additionally, placing the wine fridge in a corner of your dining room or near your home bar can provide easy access and add a touch of elegance to your entertaining area.
By considering factors like temperature, ventilation, and accessibility, you can select the perfect location for your compact wine fridge. Remember, a well-placed wine fridge will not only ensure your wines are stored at their best but also enhance your overall wine-drinking experience.
Measure the space
To ensure your compact wine fridge fits properly in your chosen location, it is important to measure the dimensions of the space accurately. Here’s a simple guide on how to do this:
- Start by gathering the necessary tools for measuring, such as a tape measure or a ruler. Make sure they are suitable for measuring larger dimensions.
- Clear the area around where you plan to place your wine fridge. Remove any obstacles or objects that may affect the accuracy of your measurements.
- Begin measuring the width of the space. Place one end of the tape measure against one side of the area and extend it to the opposite side. Take note of the measurement in inches or centimeters.For example, if the width measures 30 inches, write down “Width: 30 inches”.
- Next, measure the height of the space. Position the tape measure vertically from the floor or base to the top of the area. Again, record the measurement accurately.For instance, if the height measures 34 inches, note down “Height: 34 inches”.
- Finally, measure the depth or length of the space. Place the tape measure from the back of the area to the front, ensuring it is parallel to the width measurement. Write down the measurement accordingly.As an illustration, if the depth measures 20 inches, write “Depth: 20 inches”.
By following these steps and recording the width, height, and depth of the space accurately, you can be confident that your compact wine fridge will fit properly. Remember to double-check your measurements before purchasing a wine fridge to avoid any potential fitting issues.
Prepare the area
To prepare the area for installation, it is important to clear the space and remove any obstacles or debris that may interfere with the process. Here are some clear and easy-to-follow instructions on how to do this:
- Start by surveying the area and identifying any objects or items that might obstruct the installation. This could include furniture, plants, or other personal belongings.
- Remove any furniture or large items from the space. For example, if you are installing a new carpet, move the couch, coffee table, and any other furniture out of the room.
- If there are any small objects or accessories that can be easily moved, such as lamps or decorative items, relocate them to a safe location outside the installation area.
- Next, thoroughly clean the area by sweeping or vacuuming to remove any loose dirt, dust, or debris. This will ensure a clean and smooth surface for the installation process.
- Pay attention to any specific requirements mentioned in the installation instructions. For instance, if you are installing flooring, you may need to remove the baseboards or trim before proceeding.
- Finally, dispose of any debris or waste properly. Use garbage bags or designated containers to collect and discard any materials that were removed during the clearing process.
By following these steps, you will create a clean and obstacle-free space, making the installation process smoother and more efficient.


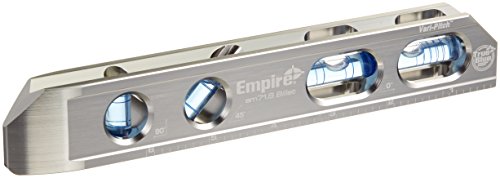
Level the fridge
To level the compact wine fridge, follow these simple steps:
- Prepare the level: Start by ensuring you have a reliable level tool. A small bubble level or a digital level app on your smartphone will work perfectly for this task.
- Locate a flat surface: Find a suitable spot for your wine fridge where it can stand securely. Look for a sturdy, level surface such as a countertop or a table. Avoid placing it on uneven or sloping surfaces, as this can affect its stability and functionality.
- Place the level: Position the level tool on top of the wine fridge, making sure it is centered and facing in a direction that allows you to easily read the level’s indicator.
- Adjust the fridge: Carefully adjust the wine fridge’s feet or leveling screws until the bubble in the level is perfectly centered. This will indicate that the fridge is level in all directions.
- Check all sides: Double-check the level on all sides of the fridge to ensure it remains perfectly level. Make any necessary adjustments to the feet or leveling screws until the bubble is centered in each direction.
By using a level to ensure your compact wine fridge is perfectly level, you can ensure its proper functioning and prevent any potential damage. Following these steps will help you achieve a stable and balanced fridge that keeps your favorite wines in optimal condition. Cheers to perfectly chilled wine!
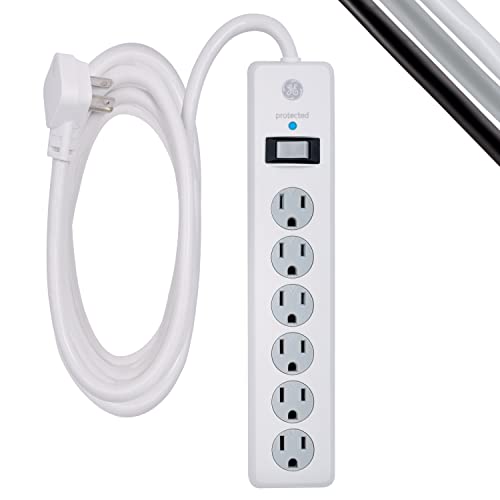
Plug it in
Connect the power cord of the compact wine fridge to a suitable electrical outlet. First, locate a nearby electrical outlet that is within reach of the fridge. Ensure that the outlet is grounded to ensure safety. To confirm if the outlet is grounded, you can check for a third prong on the plug or a “Grounded” label next to the outlet.
Once you have identified a grounded outlet, take the power cord of the wine fridge and insert the plug into the outlet. Make sure the plug is inserted fully to establish a secure connection. You may hear a click or feel a slight resistance when the plug is properly inserted.
To ensure a stable power supply, avoid using extension cords or adapters unless absolutely necessary. Plugging the fridge directly into the outlet is the best practice. If you encounter any difficulties during the process or if the outlet is not grounded, it is recommended to consult a professional electrician for assistance.
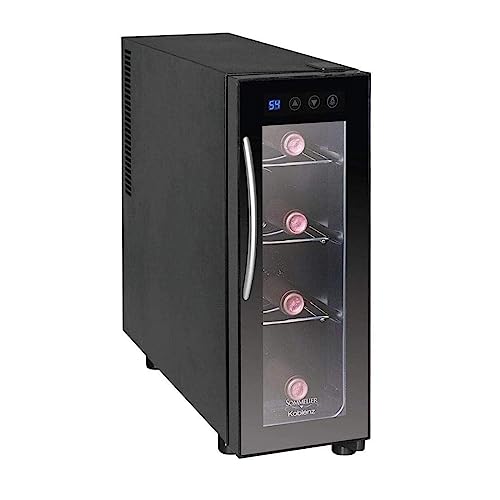
Set the temperature
To adjust the temperature settings on your compact wine fridge, start by locating the temperature control panel. It is usually located inside the fridge, either on the top or at the back. Once you have found the panel, use the up and down arrows to set the desired temperature.
Consider your preferences and the type of wine you will be storing. If you prefer your wine chilled, set the temperature between 45°F (7°C) and 55°F (13°C). This range is suitable for white and sparkling wines. For red wines, which are best served at slightly warmer temperatures, set the temperature between 55°F (13°C) and 65°F (18°C).
Remember to allow the fridge some time to reach the desired temperature after making any adjustments. This may take a few hours, so be patient. Also, keep in mind that opening and closing the fridge frequently can cause temperature fluctuations. Finally, it’s a good practice to periodically check the temperature to ensure it remains within the desired range.
Final thoughts and recommendations
In conclusion, installing a compact wine fridge requires careful attention to detail to ensure optimal functionality. Throughout this guide, we have highlighted the key points to consider: selecting the right location, taking accurate measurements, properly leveling the fridge, and setting the temperature correctly. By following these steps, you can create the perfect environment for storing and enjoying your favorite wines. Remember, a well-installed wine fridge not only preserves the quality of your wines but also enhances your overall wine-drinking experience. So, go ahead and give it a try – we’re confident you’ll be toasting to your successful installation in no time! Cheers!